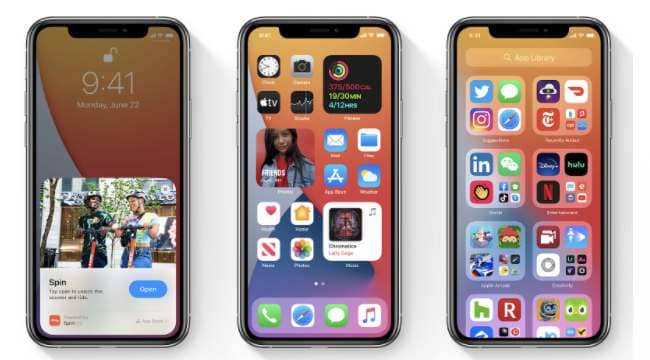
After months of beta testing, Apple has finally released the stable build of iOS 14 and iPadOS 14. Anyone who owns an iPhone or iPad compatible with iOS 14 can now install the update on his or her device. Unlike the iOS updates in the past, this time around Apple has completely redesigned iOS and even introduced widgets.
Some other noteworthy features of the iOS 14 release are a compact app library and redesigned interface, a new translate app, picture-in-picture video playback support, app clips, and improved fitness and health applications.
As the title of this article suggests, in this article, we have shared a list of iPhones and iPads compatible with the iOS 14 update followed by the complete update process. Additionally, we have also shared details on how to easily backup your iPhone using Dr.Fone.
iOS 14 Release Compatible Devices
Years of support and software updates are two of the primary reasons why people invest in iOS devices. Surprisingly, even the five years old iPhone 6S will get the iOS 14 update. So here’s a list of iPhones and iPads compatible with iOS 14.
- iPhone 6s & 6s Plus
- iPhone SE (2016)
- iPhone 7 & 7 Plus
- iPhone 8 & 8 Plus
- iPhone X
- iPhone XR
- iPhone XS & XS Max
- iPhone 11
- iPhone 11 Pro & 11 Pro Max
- iPhone SE (2020)
In addition to the aforementioned iPhones the newly released iPhone 12, iPhone 12 Mini, iPhone 12 Pro, and iPhone 12 Pro Max will all come with iOS 14 preinstalled. Furthermore, iPod Touch (7th generation) will also get the iOS 14 update.
Here’s a list of iPads that will receive the iPadOS 14 updates.
- iPad Pro All Generations
- iPad (8th generation)
- iPad (7th generation)
- iPad (6th generation)
- iPad (5th generation)
- iPad mini (5th generation)
- iPad mini 4
- iPad Air (4th generation)
- iPad Air (3rd generation)
- iPad Air 2
Steps To Download And Install iOS 14
If you own an iOS 14 compatible iPhone or iPad then installing the update is quite a simple process. You can follow these four simple steps to install the update.
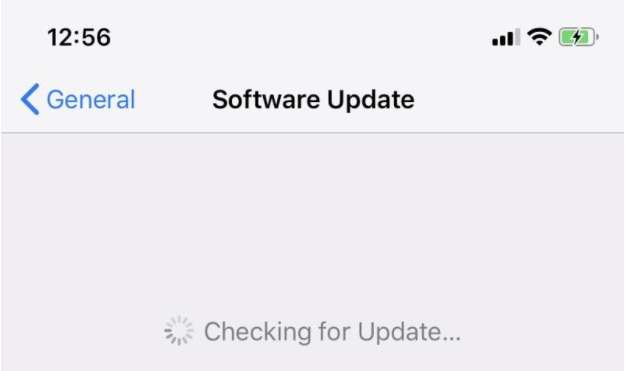
- Firstly, open up the Settings of your iPhone and locate the General section. Next, open up Software Update
- If an update is available then you will get the Download and Install option.
- In the next step, you have to enter the passcode of your iPhone to download the update.
- Lastly, once the download is finished press the install button.
A similar process can be followed to install the iPadOS 14 updates on an iPad.
How To Backup Your iPhone Before Upgrading To iOS 14
If you have been a part of the Apple ecosystem for quite some time now then you might know that Apple prompts users to create a backup before installing any sort of update. Having a backup ensures that you will never lose your important documents, memorable media files, and all your beloved contacts.
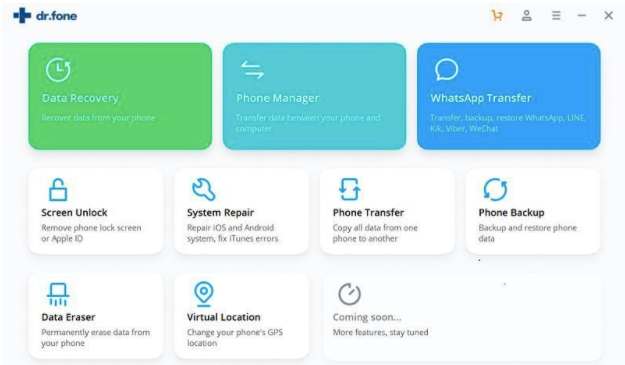
If you are scouting for a reliable iPhone backup service then Dr.Fone – Phone Backup for iOS might impress you. The process of backing up your devices using Dr.Fone – Phone Backup (iOS) is straightforward and the process of restoring these backups is also quite simple.
Using Dr.Fone – Phone Backup you can backup Photos, Contacts, Videos, Messages, Call history, Notes, Calendar, Reminder, WhatsApp messages, Voice memos, Voicemail, Messenger, Safari bookmark, App photos, App video, and App documents. Since Dr.Fone – Phone Backup is available for Windows 10 and macOS Big Sur you can create backups on your PC or macOS desktop or laptop.
So here’s a three-step process to backup your data using Dr.Fone – Phone Backup.
- Firstly download and install Dr.Fone – Phone Backup on your PC and connect your iPhone to the PC.
- Based on your preference you can now backup everything or select particular files to backup.
- Lastly, wait for the backup process to complete and you can then view all of your backed-up content.
If you ever want to restore your backups then you can do so by simply connecting your iPhone or iPad to the PC.


