If you are using Windows 11, you may know about the Snipping Tool utility. The snipping tool is basically a screenshot utility that is designed to capture screenshots.
Recently, Microsoft released a massive update to its Snipping tool that brings Text Actions. Text Actions basically lets you copy texts from screenshots on Windows 11.
The new Snipping Tool of Windows 11 also supports screen recording. While the free utility is great for capturing screenshots & recording the screen, many Windows 11 users face problems with it.
How to Fix ‘Recording Stopped’ Snipping Tool Error on Windows 11 (7 Methods)
While recording Windows 11 screen, the Snipping Tool shows an error message that reads ‘Recording Stopped’. The error message prevents users from recording the screen and asks them to restart the recording.
So, if you are a Windows 11 user and get the ‘Recording Stopped’ error when using the Snipping Tool, continue reading the guide. Below, we have shared some simple methods to fix this error. Let’s get started.
1. Restart your Windows 11 computer
If you recently updated the Snipping Tool utility and get the Recording Stopped error, restart your computer first.
Sometimes, it was just a bug or operating system glitch preventing you from using certain apps. The best way to get rid of such bugs is to restart your computer.
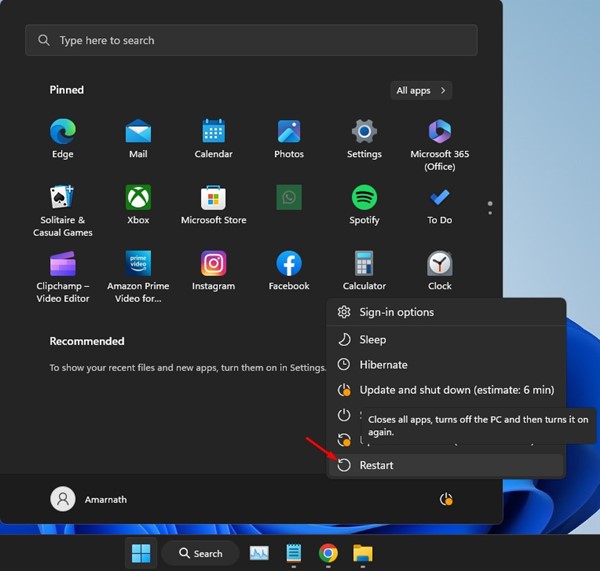
Simply click on the Windows 11 Start button and select Power Menu. On the Power Menu, click on Restart to restart your computer.
2. Force Close Snipping Tool
If the ‘Recording Stopped’ error still appears while using the Snipping tool, you must force close the app and restart from the Task Manager. Here’s what you need to do.
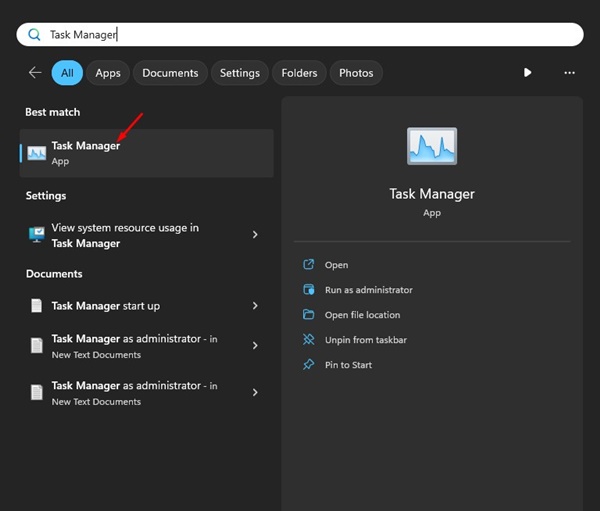
1. Type Task Manager on the Windows 11 Search. Next, open the Task Manager app from the list.
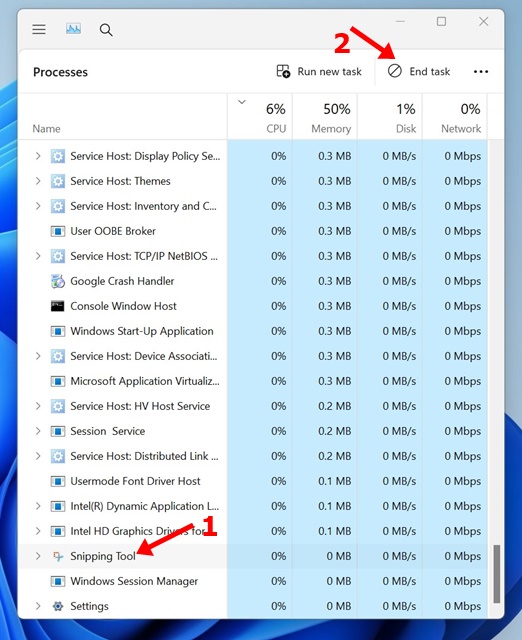
2. When the Task Manager opens, find the Snipping Tool.
3. Right-click on the Task Manager and select End Task.
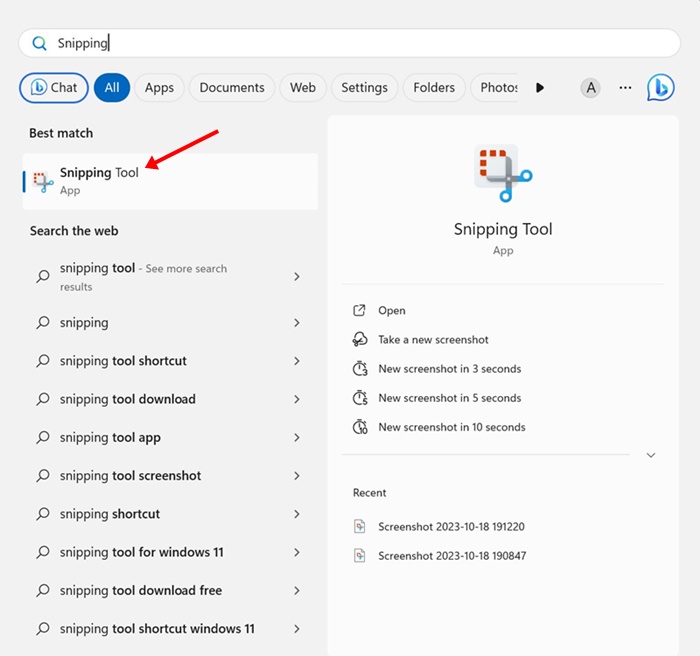
4. Now click on the Windows 11 Search and type Snipping Tool. Next, open the Snipping Tool app from the list of best match results.
That’s it! This is how you can force close the Snipping tool app to fix the ‘Recording stopped’ error message.
3. Disable the Screen Projection
Screen Projection is another reason for the Recording Stopped error on the Snipping Tool. Hence, you can try disabling the Screen Projection on Windows 11 to fix this problem. Here’s what you need to do.
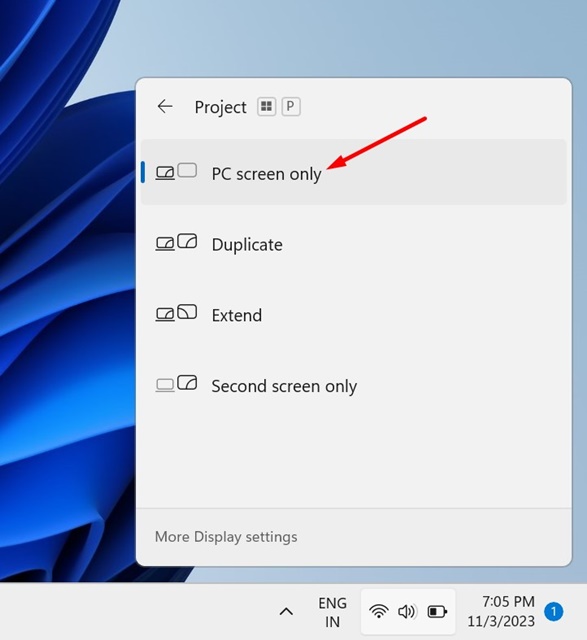
- Press the Windows + P button to launch the Quick Projection Panel.
- On the Project panel, select the PC screen only.
- Once done, launch the Snipping Tool utility from the Windows 11 Search.
That’s it! When the Snipping Tool opens, launch the Screen Recording. This may fix the Recording Stopped error while using the Snipping tool on Windows 11.
4. Run the Windows Store Troubleshooter
Many Windows 11 users have claimed to resolve the Recording Stopped Snipping tool error on Windows 11 by running the Store App Troubleshooter. You can try doing it as well to resolve the issue.
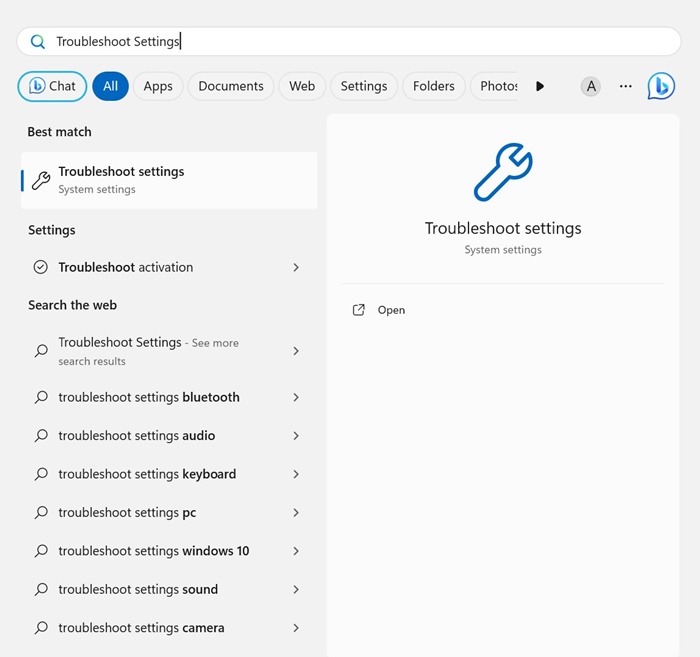
1. Type in Troubleshoot Settings on Windows 11 Search. Next, open the Troubleshoot Settings from the list of best match results.
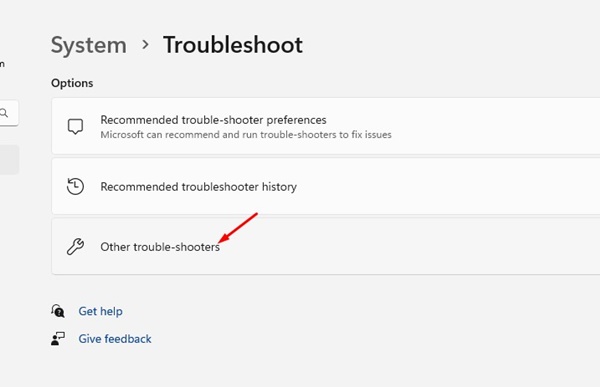
2. On the Troubleshoot screen, click on the Other Troubleshooters.
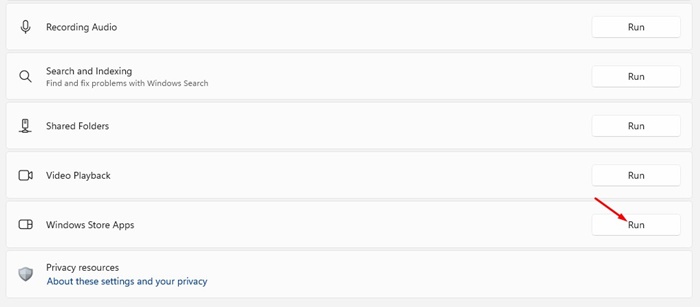
3. Now, find the Windows Store Apps; click the Run button beside it.
That’s it! This will launch the Windows Store Apps troubleshooter. You just need to follow the on-screen instructions to complete the troubleshooting process.
5. Install the Pending Windows Updates
Maybe the version of Windows 11 you are using has problems preventing the Snipping tool from recording your screen. You can install Windows Updates to resolve such problems. Also, it’s a good security practice to keep the operating system up-to-date. Here’s how to install all pending Windows 11 updates.
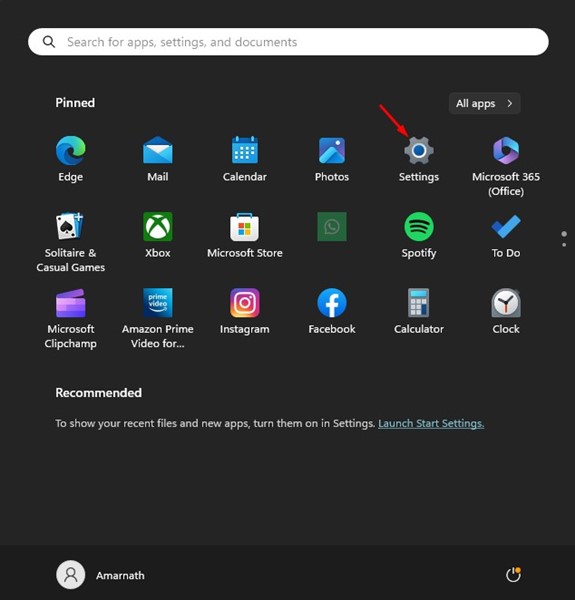
1. Click on the Windows 11 Start button and select Settings.
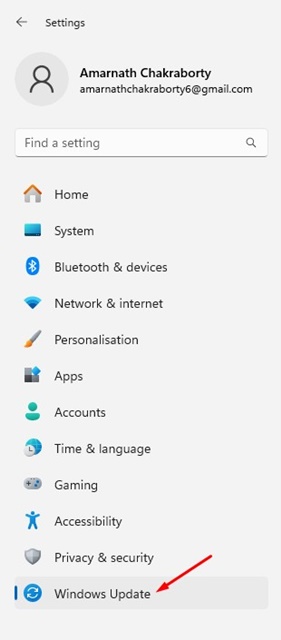
2. When the Settings app opens, switch to the Windows Update tab.
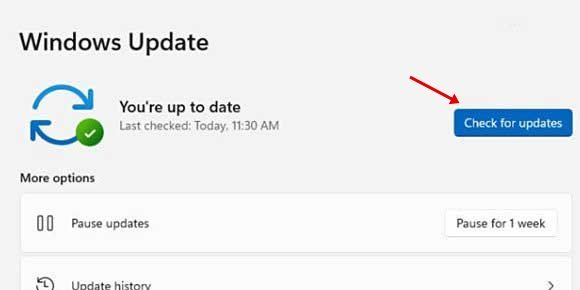
3. On the right side, click the Check for Updates button.
That’s it! This will launch the Windows 11 update tool. The operating system will now check for all available updates and will download & install it.
6. Install the Pending Updates for Snipping Tool
Like operating system updates, app updates are equally important. If you still get the ‘Recording stopped’ error while using the Snipping tool on Windows 11, the version of the Snipping tool you’re using likely has a bug or problem.
You can easily update your existing version of the Snipping tool from the Microsoft Store to resolve this issue. Here’s how to install the pending updates for the Snipping tool on Windows 11.
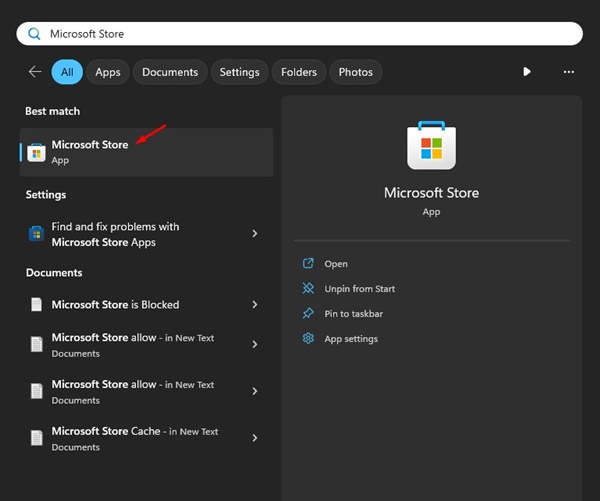
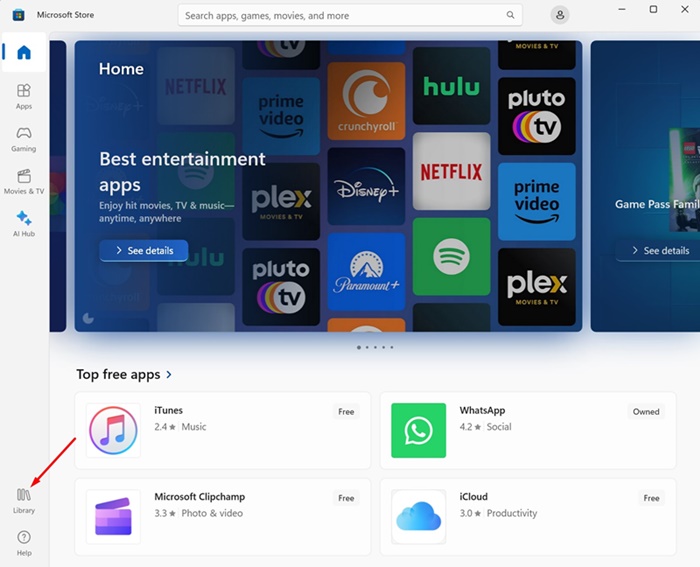
1. To get started, launch the Microsoft Store app on your Windows 11.
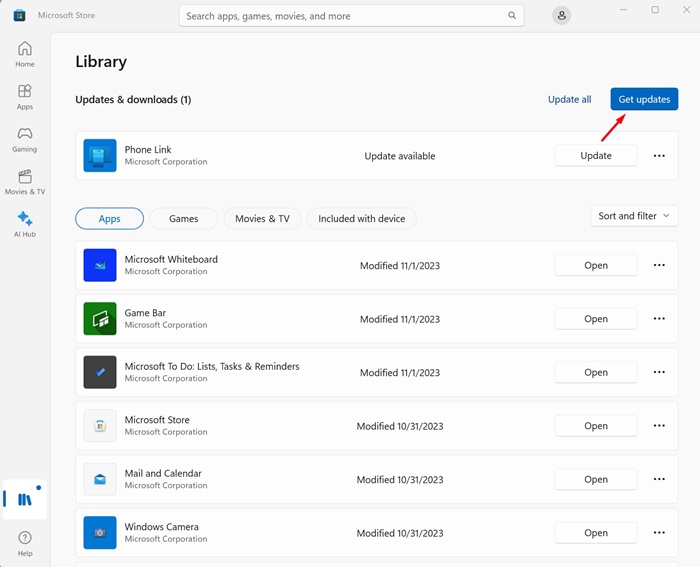
2. When the Microsoft Store opens, click on the Library.
3. On the top right corner of the Library page, click on Get Updates.
That’s it! This is how you can fix the recording stopped error on the Snipping tool for Windows 11.
7. Fix Corrupted System Files
Another best thing you can do to resolve the Recording Stopped error on Windows 11 is to run the system file checker utility. The system file checker utility will find and fix all corrupted system files. Here’s what you need to do.
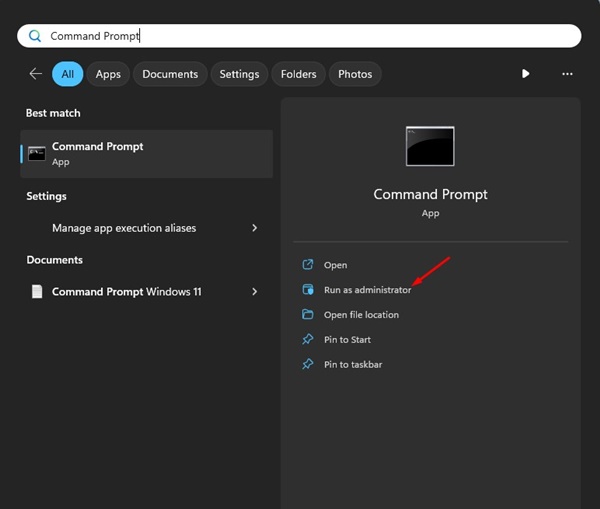
1. Type in Command Prompt on the Windows 11 Search. Next, right-click on the Command Prompt and select Run as administrator.
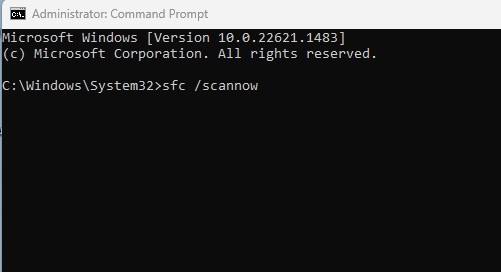
2. When the Command Prompt opens, execute the given command:
sfc /scannow
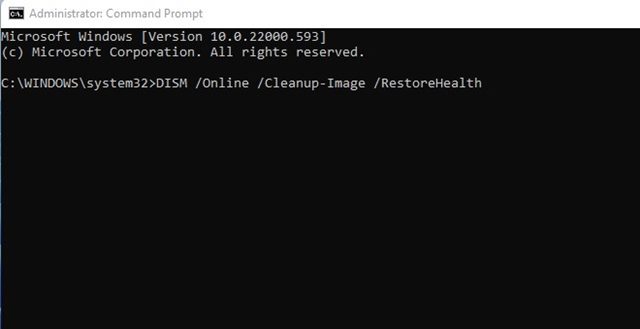
3. If the command prompt returns with an error, execute these commands one by one.
- DISM /Online /Cleanup-Image /CheckHealth
- DISM /Online /Cleanup-Image /ScanHealth
- DISM /Online /Cleanup-Image /RestoreHealth
That’s it! After executing these commands, restart your Windows 11 PC. This will possibly fix the Recording stopped error on the Snipping tool.
So, these are the few working methods to resolve recording stopped errors on the Snipping tool for Windows 11. If you have followed all methods, chances are that the error is already resolved. Let us know which method worked for you to fix the Snipping tool problem.
